Simple Car Repairs You Can Do at Home: Save Hundreds in Mechanic Fees
A single visit to the mechanic costs between $500-$600 on average. Labor rates range from $80 to $100 per hour, and simple car repairs become expensive quickly.
Car owners can perform many simple maintenance tasks at home at a fraction of the cost. They can save up to $150 on spark plug replacements and another $150 on radiator flushes by handling these repairs themselves.
The savings add up substantially through the years, especially with routine maintenance like oil changes. A DIY oil change costs $25 to $50, while service centers charge $35 to $75.
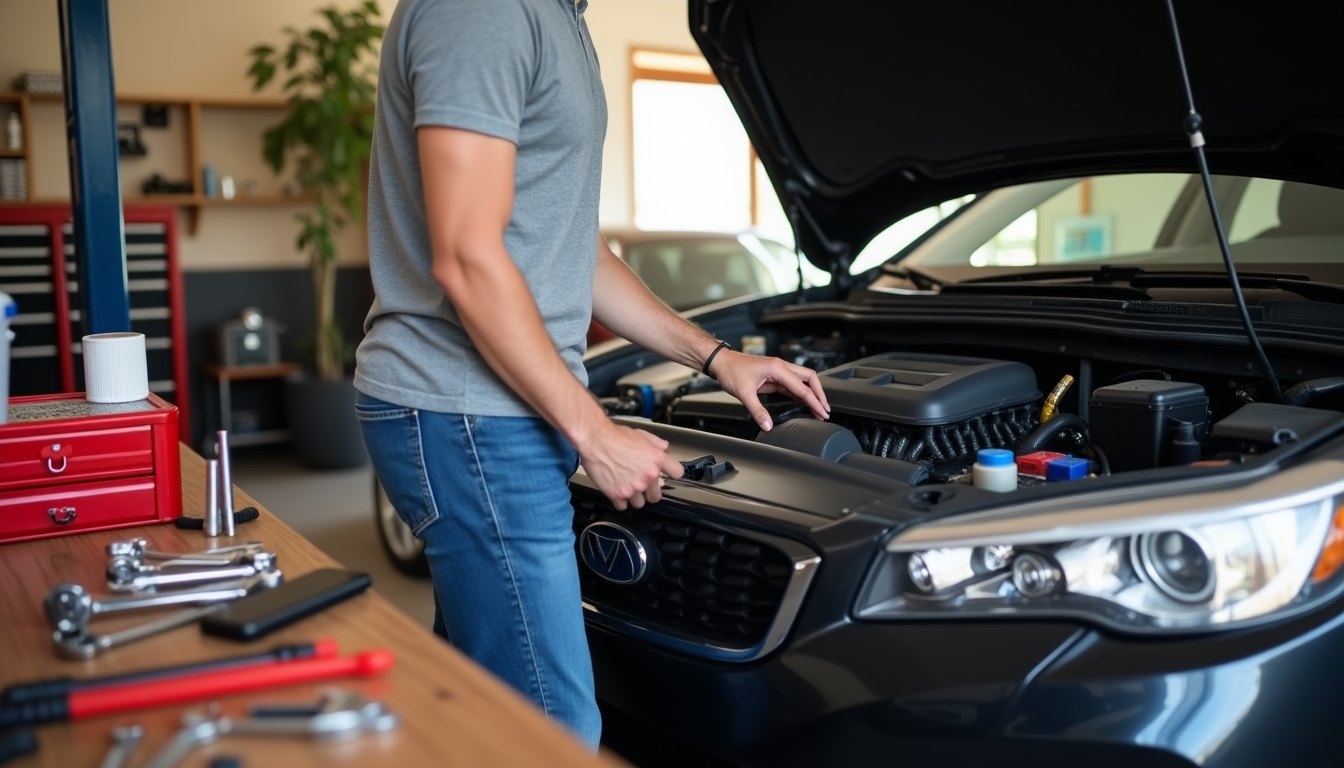
Car owners can tackle many simple repairs at home with online tutorials and the right tools. They can replace wiper blades and change headlights themselves. These DIY maintenance tasks save money and help prevent serious and expensive repairs down the road.
DIY repairs like oil changes, spark plug swaps, and air filter replacements can save hundreds yearly.
OBD-II scanners help diagnose issues early, preventing costly breakdowns.
Dashboard lights, odd sounds, and changes in handling are key early warning signs.
Easy tasks like replacing fuses, bulbs, or wiper blades are beginner-friendly and low-cost.
Electrical issues, steering problems, and flashing engine lights require a mechanic.
Smart owners mix DIY maintenance with professional help for safety and long-term savings.
Finding ASE-certified, transparent mechanics ensures reliable service when needed.
Diagnosing Common Car Problems Before They Worsen
Early detection of car problems helps you avoid getting pricey repairs. Cars tell us about their problems through dashboard lights, strange sounds, or changes in how they perform – these are the first signs that something’s wrong.
Understanding Warning Lights on Your Dashboard
Your dashboard warning lights work like a health monitor for your car. The colors tell you how urgent the problem is – red lights just need immediate action, while amber or yellow show problems you should fix soon.
A steady check engine light shows detected issues ranging from a simple loose gas cap to serious problems like a failing catalytic converter. If this light flashes, pull over right away because this warns of a major problem that could wreck your engine if you ignore it.
The oil warning light needs your immediate attention – it shows low oil pressure that can destroy your engine if you keep driving. The engine coolant temperature warning lights up when your vehicle overheats, so turn off the engine quickly to prevent damage.
Your dashboard also shows battery warnings for charging system issues, tire pressure alerts, and brake system signals. These help catch small problems before they turn into big failures.
Identifying Unusual Sounds and What They Mean
Strange noises often signal the first warning. Rhythmic clunking or tapping under the hood points to serious valve, connecting rod, or piston problems that need quick attention.
Your brakes might need new pads or shoes if you hear grinding or squealing when you stop. A popping sound like snapping fingers during turns could mean failing CV joints in front-wheel drive cars.
Failing bearings often make howling or whining sounds – front wheel bearings make noise during turns, while differential problems get louder as you accelerate. Rattling underneath usually means loose exhaust parts.
Roll down your windows sometimes during regular drives to check for odd sounds – this helps catch problems early. Quick action on these noises stops small issues from becoming major headaches.
Using Diagnostic Tools to Read Error Codes
Cars made after 1996 come with onboard diagnostic (OBD-II) systems that track performance and store error codes for problems. These codes help pinpoint specific issues in your car’s systems.
An OBD-II scanner is easy to use. Find the diagnostic port under your driver’s dashboard, plug in the scanner with the ignition off, then turn the key to “on” without starting the engine. Your scanner powers up and shows any stored codes.
Each code has five characters – the first letter shows the affected system (P for powertrain, C for chassis, B for body, U for network), and the numbers give specific details about the problem. P0301, as an example, shows cylinder #1 has a misfire.
You can buy affordable basic code readers that save time and money on diagnostics. These readers help you spot problems early and check if your car will pass emissions tests.
Quick Fixes for Electrical System Issues
Car electrical problems might seem scary, but you can fix many of them at home with simple tools and know-how. You’ll save much money on service calls by doing these repairs yourself. Quick fixes also stop small problems from becoming major electrical failures.
Replacing Blown Fuses
Your car’s electrical system stays protected by fuses that break the circuit during current overload. A blown fuse usually causes specific parts like your radio or power windows to stop working suddenly.
Your vehicle’s fuse box sits under the dashboard or hood. Turn off the ignition first. The owner’s manual has a diagram to help you find the right fuse.
Get the suspected fuse out with a fuse puller or needle-nose pliers. Hold it up to light and look for a broken metal filament or discoloration. The replacement fuse must have the same amperage rating to avoid electrical damage.
Fixing Headlights and Taillights
Safe driving needs working lights, and they’re required by law everywhere. Replacing bulbs is one of the easiest repairs you can do.
Safety comes first – disconnect your car’s battery before starting. You can reach headlights through the engine compartment and taillights through the trunk.
New bulbs need careful handling. Your skin’s oils can create hotspots that reduce bulb life, so avoid touching the glass directly. Make sure to test all lights and check their alignment after installation.
Jump-Starting Your Car Correctly
Dead batteries cause most roadside emergencies. You’ll need jumper cables and another car with a working battery to get going again.
Stay safe by following these steps:
- Position both vehicles close without touching, engines off
- Connect red clamp to dead battery’s positive terminal
- Connect other red clamp to donor battery’s positive terminal
- Attach black clamp to donor battery’s negative terminal
- Connect remaining black clamp to unpainted metal on the dead car’s engine
Start the working car first. Wait 1-2 minutes before trying to start your car. Your battery needs at least 30 minutes of driving to recharge properly after a jump-start.
Save Money on Car Repairs with These Engine Maintenance Tasks
Vehicle longevity and performance depend on regular engine maintenance as their life-blood. You can save hundreds in mechanic fees and keep your car running smoothly for years with these three simple maintenance tasks.
Air Filter Replacement to Improve Fuel Efficiency
Your engine needs a clean air filter to “breathe” properly, which ensures better combustion and improved performance. A new air filter can increase fuel efficiency by up to 10%, depending on your vehicle and filter quality.
Finding the air filter requires minimal effort. Look for a black plastic box with a large protruding hose on top of or beside your engine. The process is simple – release the metal clamps to open the housing, take out the old filter, and put the new one in the same position.
Check your current filter by holding it against a light source. A replacement becomes necessary if light barely passes through. Most vehicles need a new air filter every 12 months or 12,000 miles, though dusty conditions might require more frequent changes.
Spark Plug Changes for Better Performance
Your engine’s performance suffers when worn spark plugs fail to ignite the fuel-air mixture properly. Watch for signs like rough running, decreased fuel efficiency, and starting problems.
You only need basic hand tools and attention to detail to replace spark plugs. Different vehicles have varying replacement intervals from 30,000 to 100,000 miles, based on the vehicle and plug type.
New plug installation requires proper gapping according to manufacturer specifications using a gapping tool. Start by hand-tightening the plugs to protect the threads, then use a torque wrench to achieve the specified tightness.
Oil Changes: The Most Important DIY Maintenance
Oil changes remain the most vital maintenance task to ensure engine longevity. Clean oil serves multiple purposes – it lubricates, cools, cleans, and protects moving engine parts from wear.
Your engine faces serious risks without regular oil changes. These include reduced fuel efficiency from deposits, increased emissions, overheating, and possible catastrophic damage from direct metal contact. Old oil also creates sludge that can block oil flow to crucial engine parts.
A proper DIY oil change requires an oil catch pan, the right oil filter, appropriate tools, and manufacturer-recommended oil type and viscosity. Remember to recycle used oil – most auto parts stores or quick-change facilities gladly accept it.
When to DIY and When to Visit a Mechanic
Smart car owners know their limits with repairs. This knowledge saves them from getting pricey mistakes and safety risks. They understand which tasks they can handle and which ones need professional expertise.
Repairs That Are Safe for Beginners
DIY enthusiasts can start with several maintenance tasks that need just a few tools and simple knowledge. The easiest task you can tackle is replacing air filters. This job takes less than 10 minutes and doesn’t need any tools.
You can safely handle these beginner-friendly repairs:
- Checking and adjusting tire pressure
- Replacing wiper blades
- Changing light bulbs
- Replacing cabin air filters
- Checking fluid levels
These jobs need simple tools and help you save $25-$100 per repair. You’ll find many online resources with step-by-step guides for these simple maintenance tasks.
Warning Signs That Require Professional Attention
The idea of DIY repairs sounds great, but some warning signs tell you it’s time to see a professional mechanic. Your engine makes unusual noises? Grinding, popping, or growling sounds need immediate expert attention.
Your car’s steering gives you trouble or the wheel “fights back”? These signs point to serious steering component problems. The brakes make grinding sounds instead of just squealing? You just need professional inspection right away.
Major fluid leaks spell trouble for vital systems, except water dripping from your AC. A mechanic should look at these issues. The sort of thing that really needs attention is a flashing check engine light. Unlike a steady light, this signals serious problems that could damage your engine if ignored.
How to Find a Trustworthy Mechanic When Needed
The core team at good repair shops holds ASE (Automotive Service Excellence) certification. This shows they’ve passed specialized testing and keep learning. A reliable shop will talk openly about their technicians’ certifications.
Look for shops that focus on your car’s make, especially if you drive European or luxury vehicles. Take time to visit potential shops and review their setup. Notice things like cleanliness, helpful staff, and how organized they are.
Good mechanics will ask you detailed questions about your car’s problems. They explain issues in plain language without technical jargon. On top of that, they give you clear estimates that break down parts and labor costs before they start the work.
Conclusion
Smart car owners can save hundreds or maybe even thousands of dollars each year by learning simple DIY repairs instead of making expensive trips to the mechanic. Their vehicles will keep running smoothly with proper care.
Car owners who understand dashboard warnings and perform regular maintenance can prevent major problems early. They can handle simple electrical repairs themselves. On top of that, basic diagnostic skills help them figure out which issues need a professional mechanic and which ones they can fix at home.
Success comes from understanding your skill limits and spotting warning signs that just need expert help. Car owners should begin with easy tasks like changing air filters and checking fluids. They can then move on to more complex repairs as they gain confidence.
A mix of DIY work and professional help when needed will give car owners the best results. This balanced strategy saves money and helps their vehicles last longer while keeping safety the top priority.